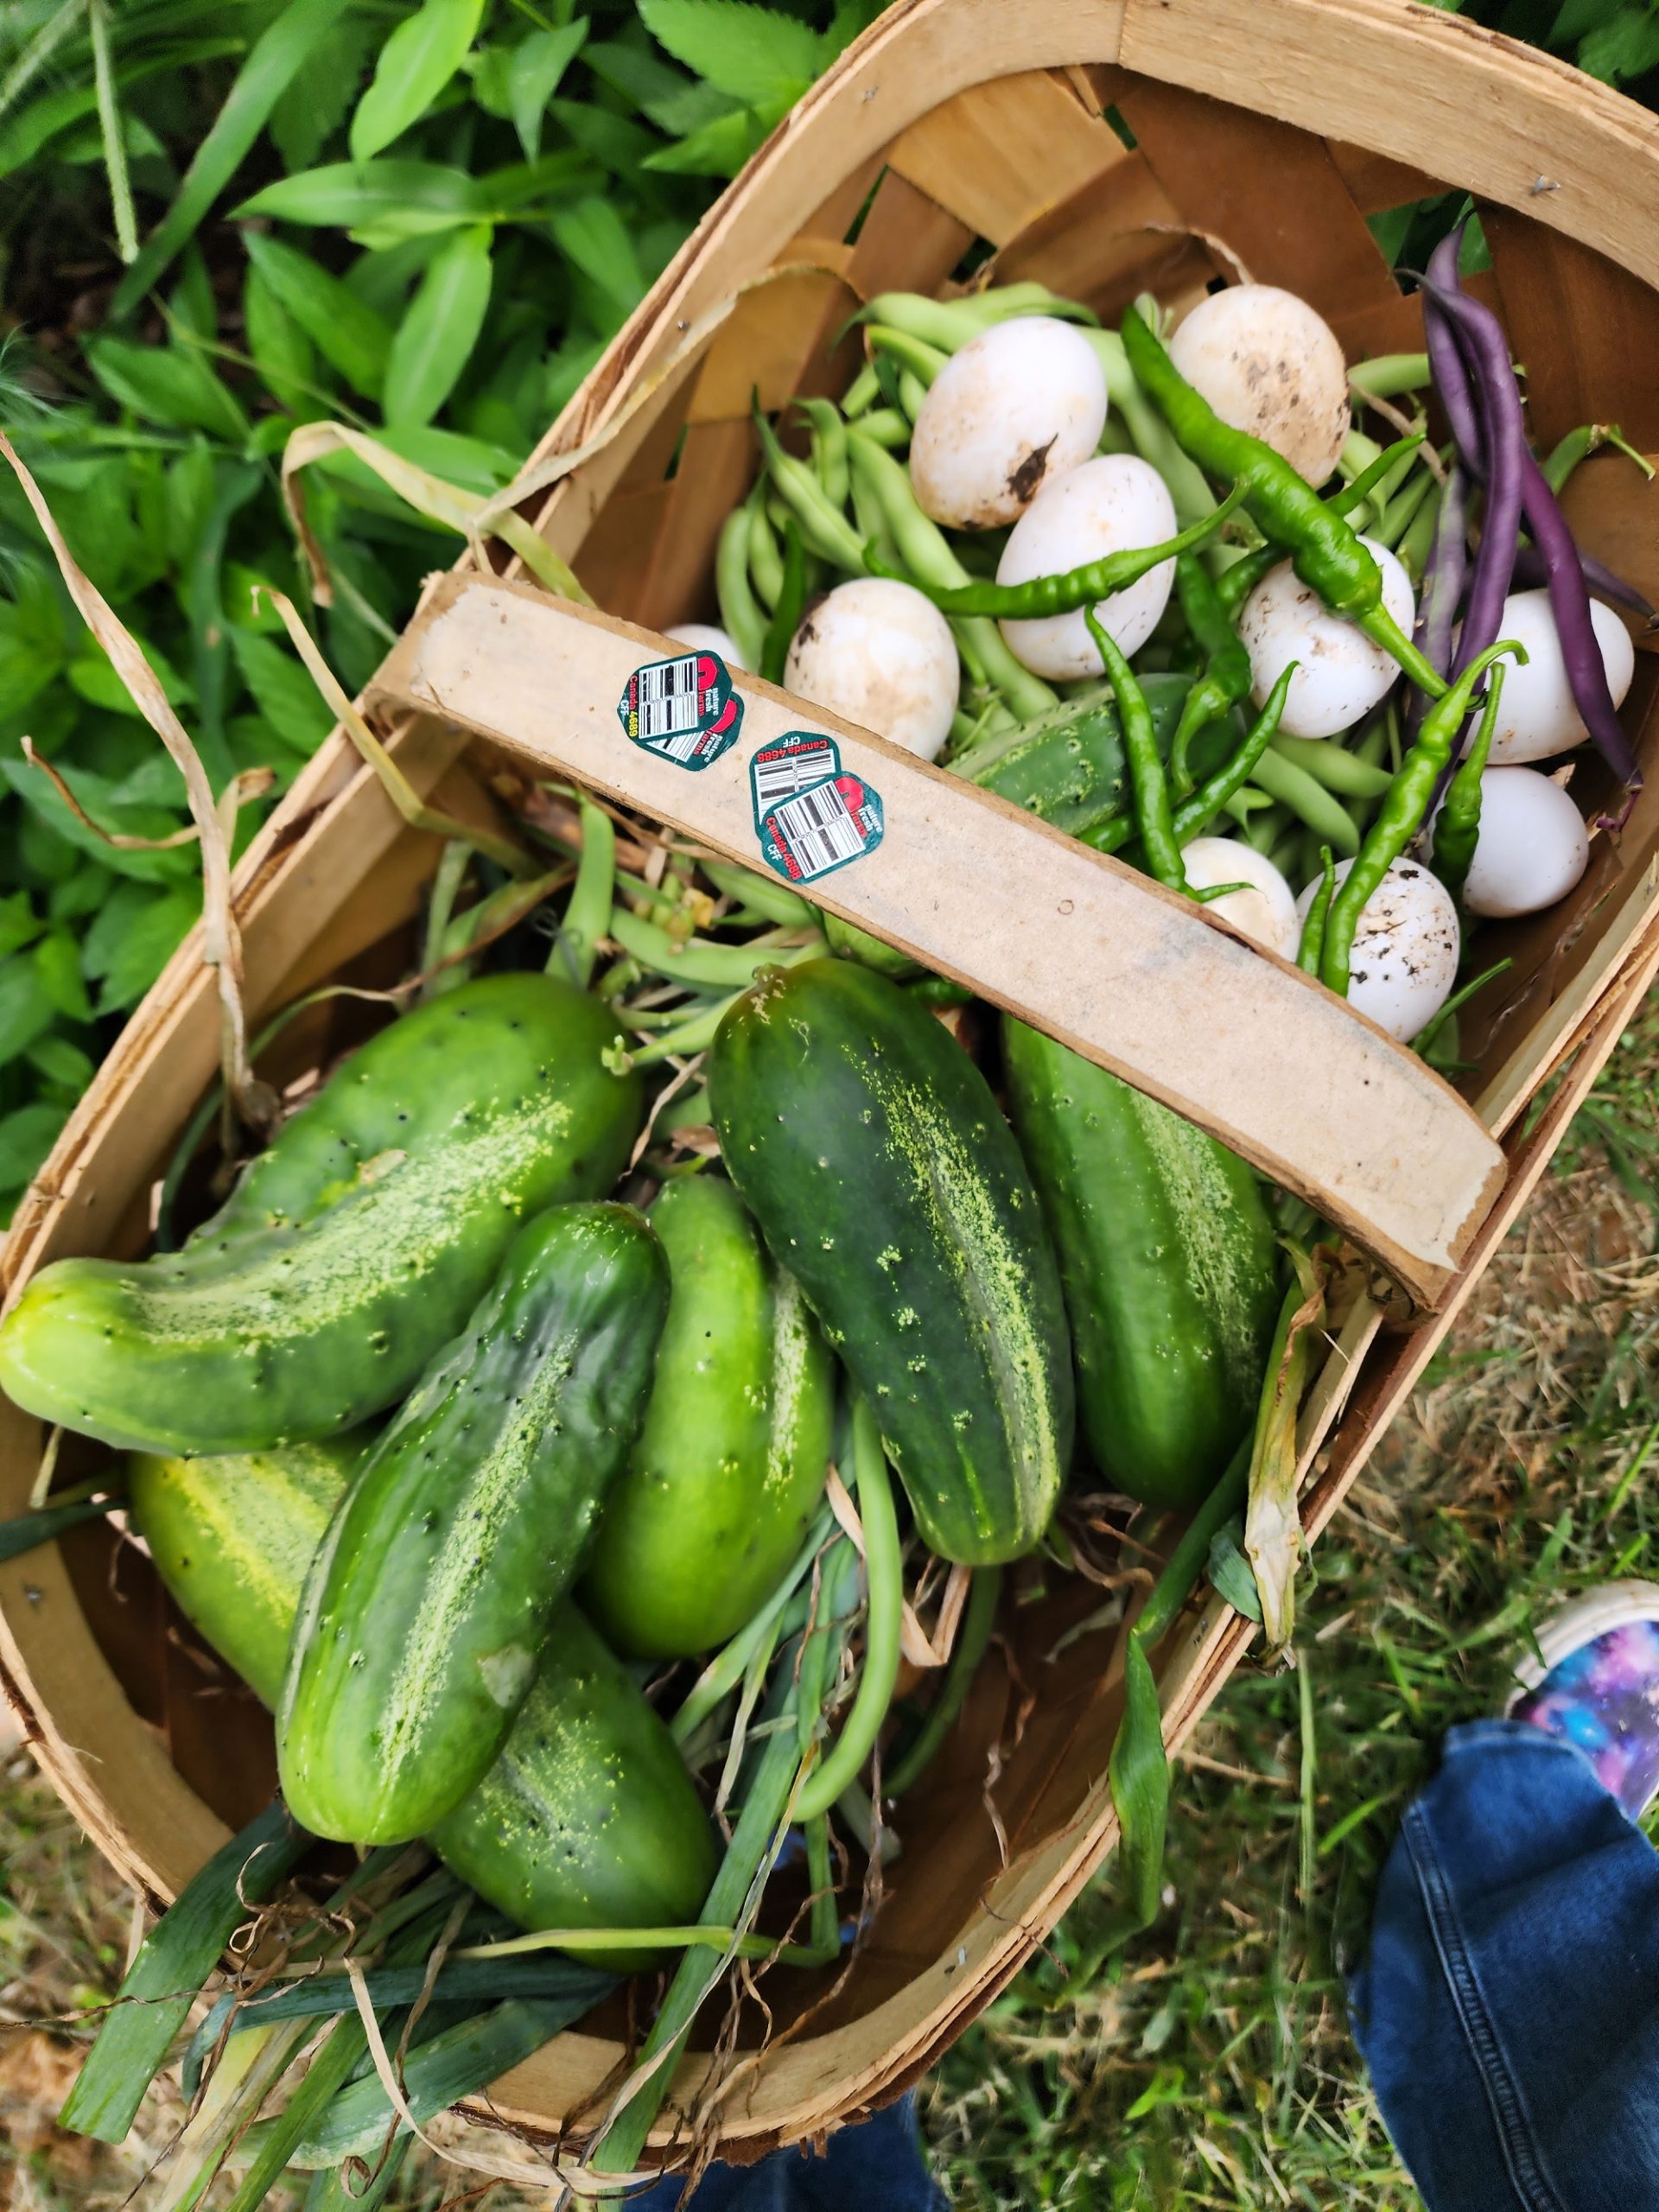
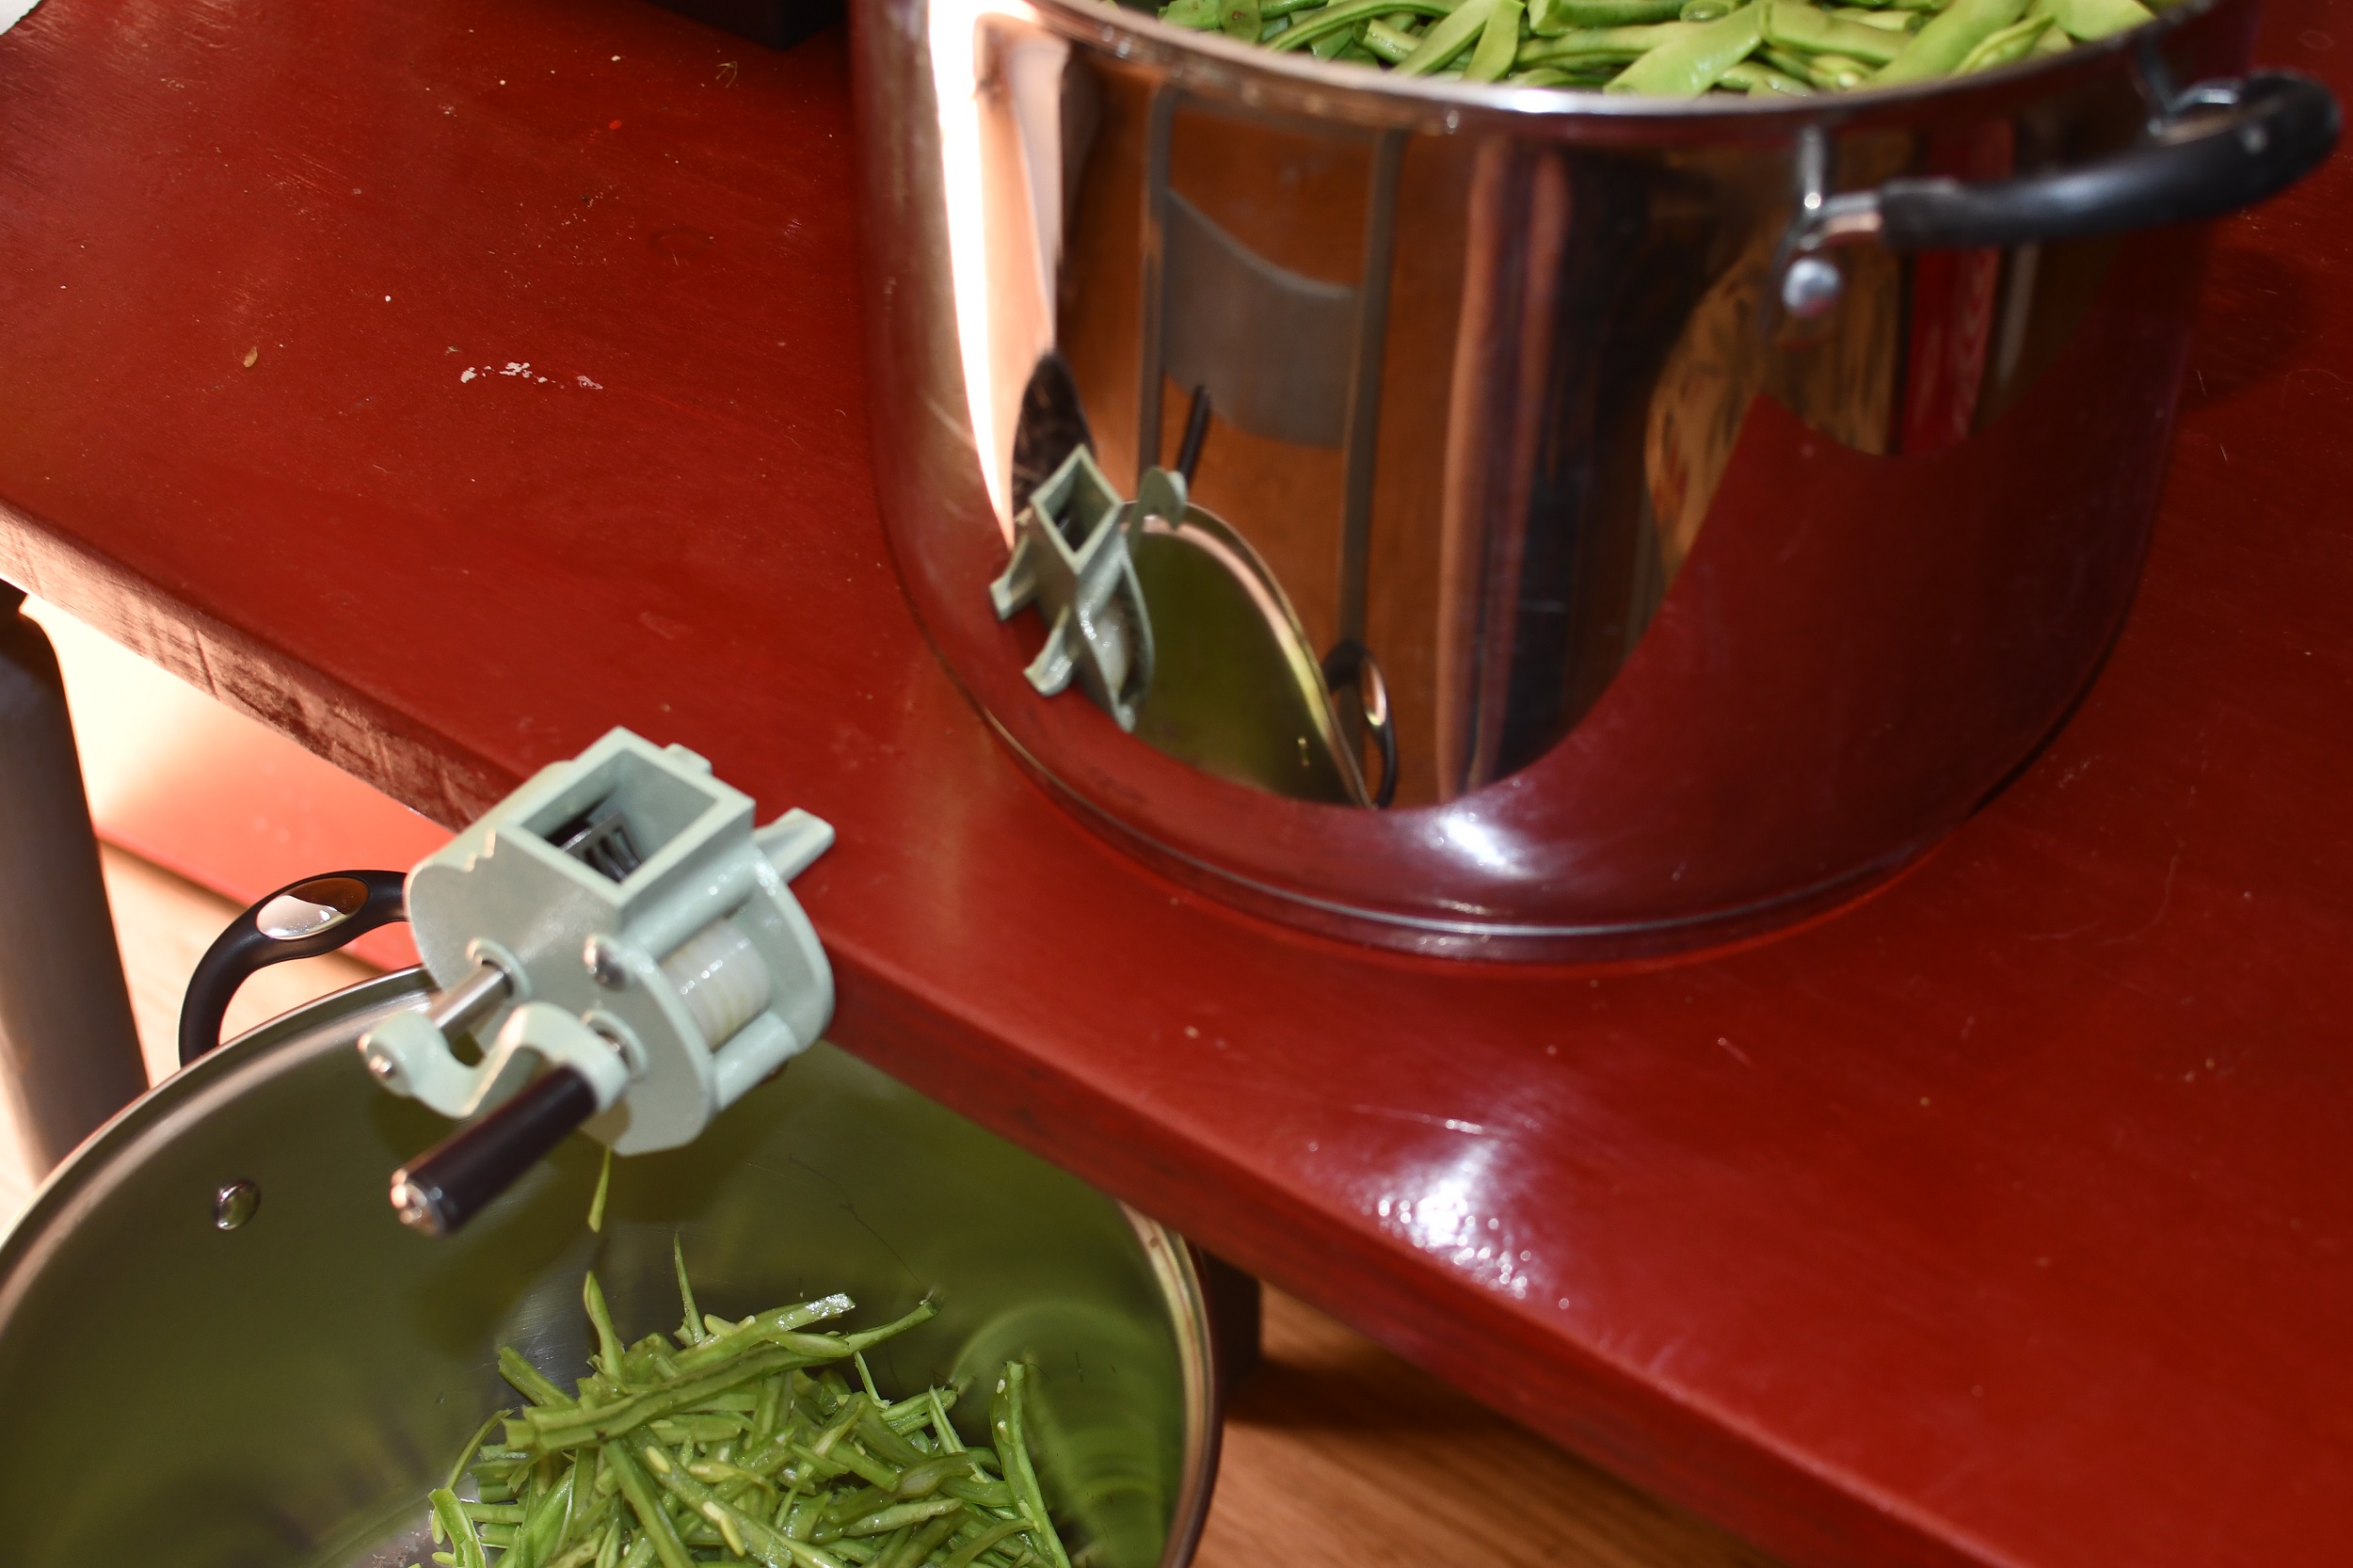
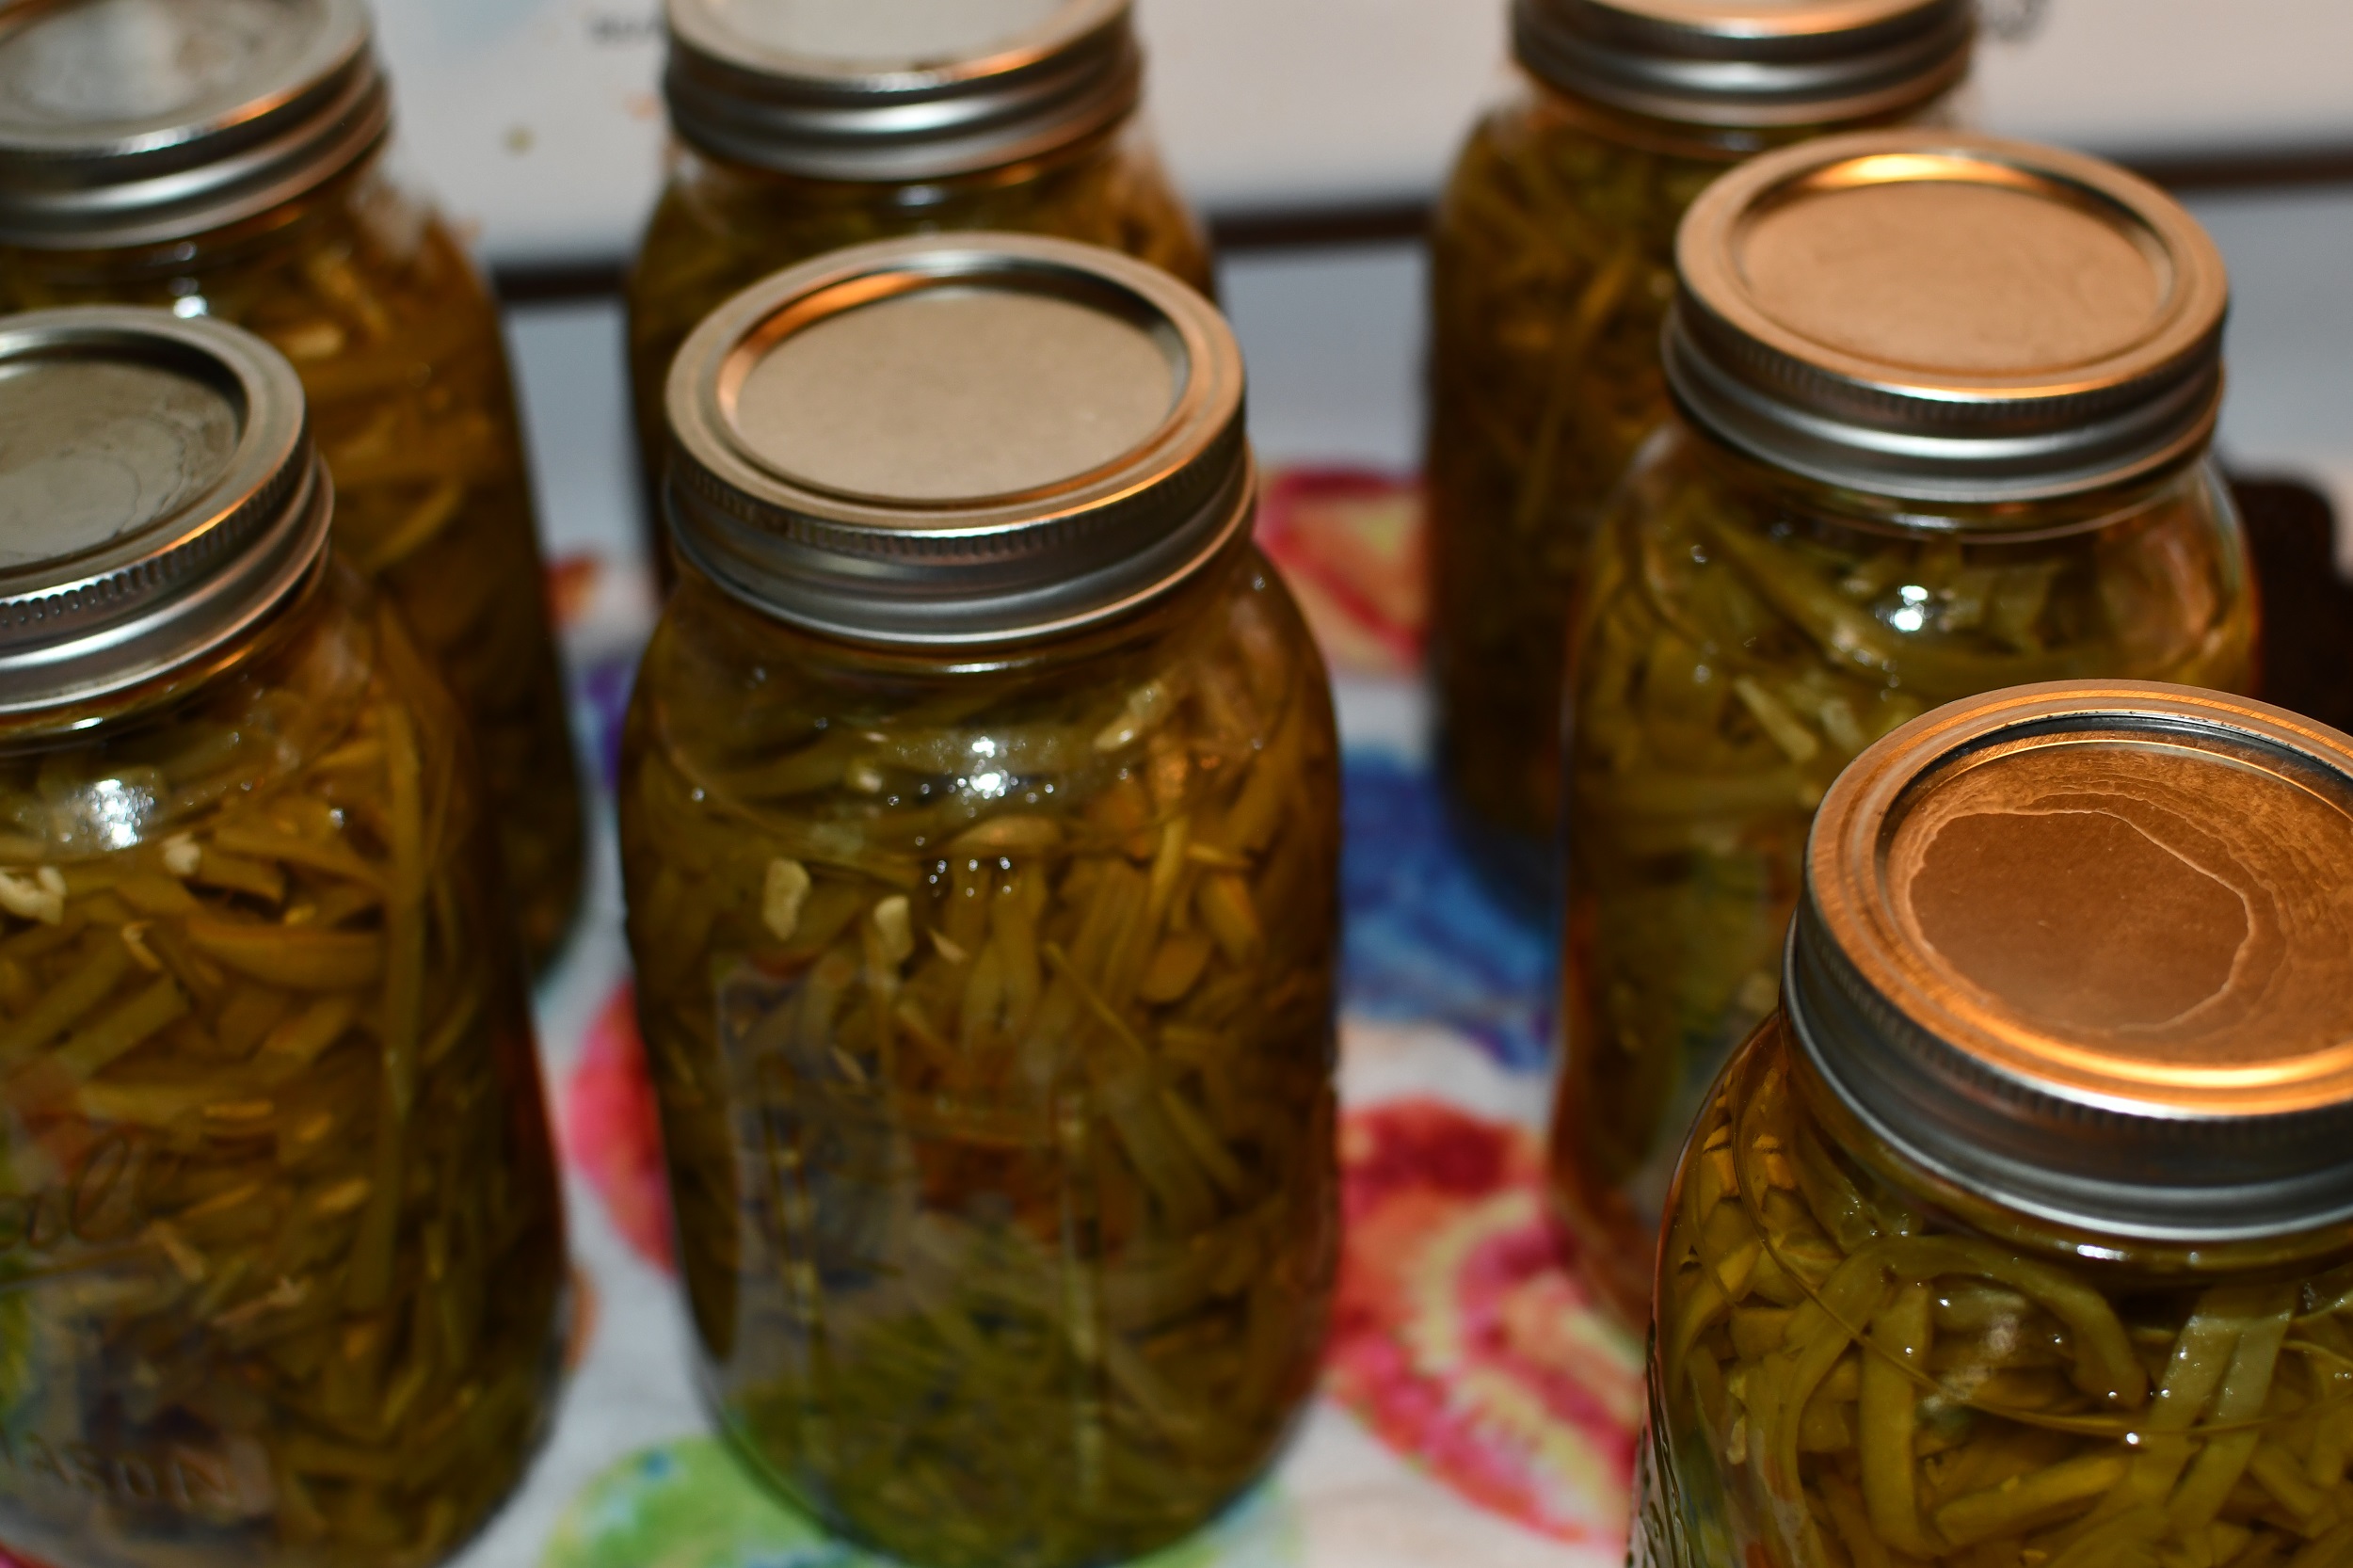
Y’all! It’s canning season! I am beyond excited! Over the next few months I will be sharing with you ALL (okay, most) of the canning recipes that I have accumulated over the years. From things like salsa and broths to more complex stews and soups. I’ll also show you how we can basics like corn, green beans, and beans. But today? Today I want to talk to you about how to start canning.

How To Start Canning
I have always been fascinated by the idea that I didn’t have to go to the grocery store to buy food. You mean I could have a garden and animals that provided food for me? And I could put in a little work and have healthy food throughout the year. I also didn’t need a million freezers to store food and have to worry about a power failure? So I started researching, because that’s what I do when I don’t understand something.
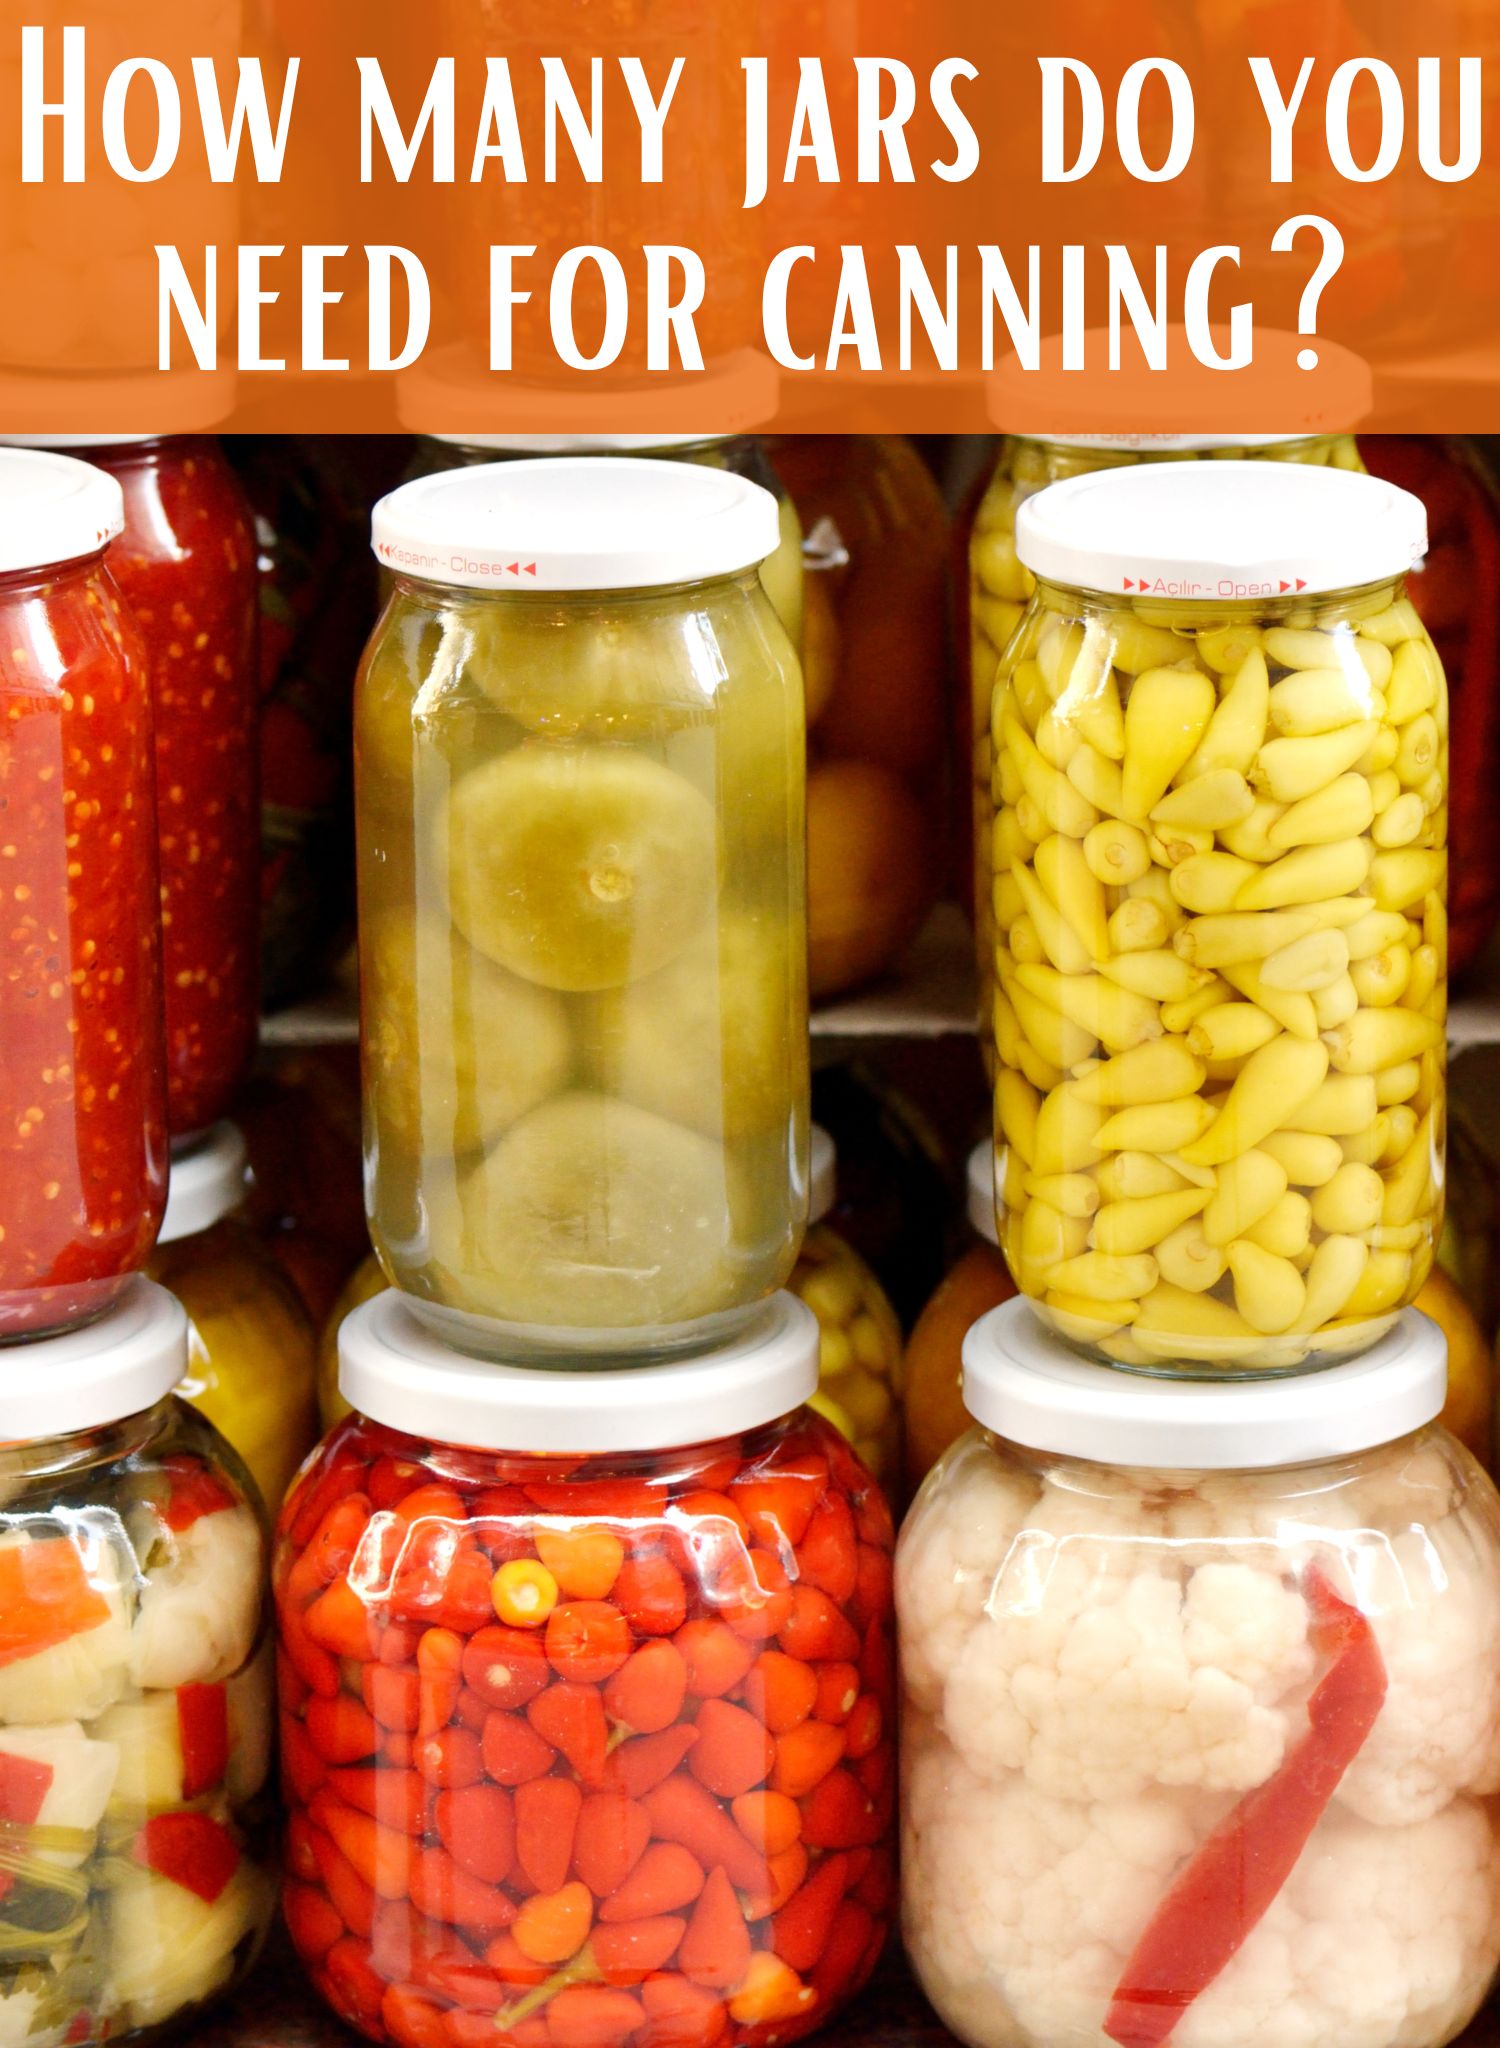
I found out that canning is actually pretty simple. Put the food in a jar, tighten, and put it into a waterbath canner or pressure canner, and set the timer. The hard part comes in knowing which way to process the foods and for how long. If you don’t allow the “pearl clutchers” to get in the way, you can have shelves and shelves full of healthy food that will last for a couple years.
With this knowledge in hand, I went to work. I started with canning apple sauce and over the years, I have canned hundreds, if not thousands of jars of food.
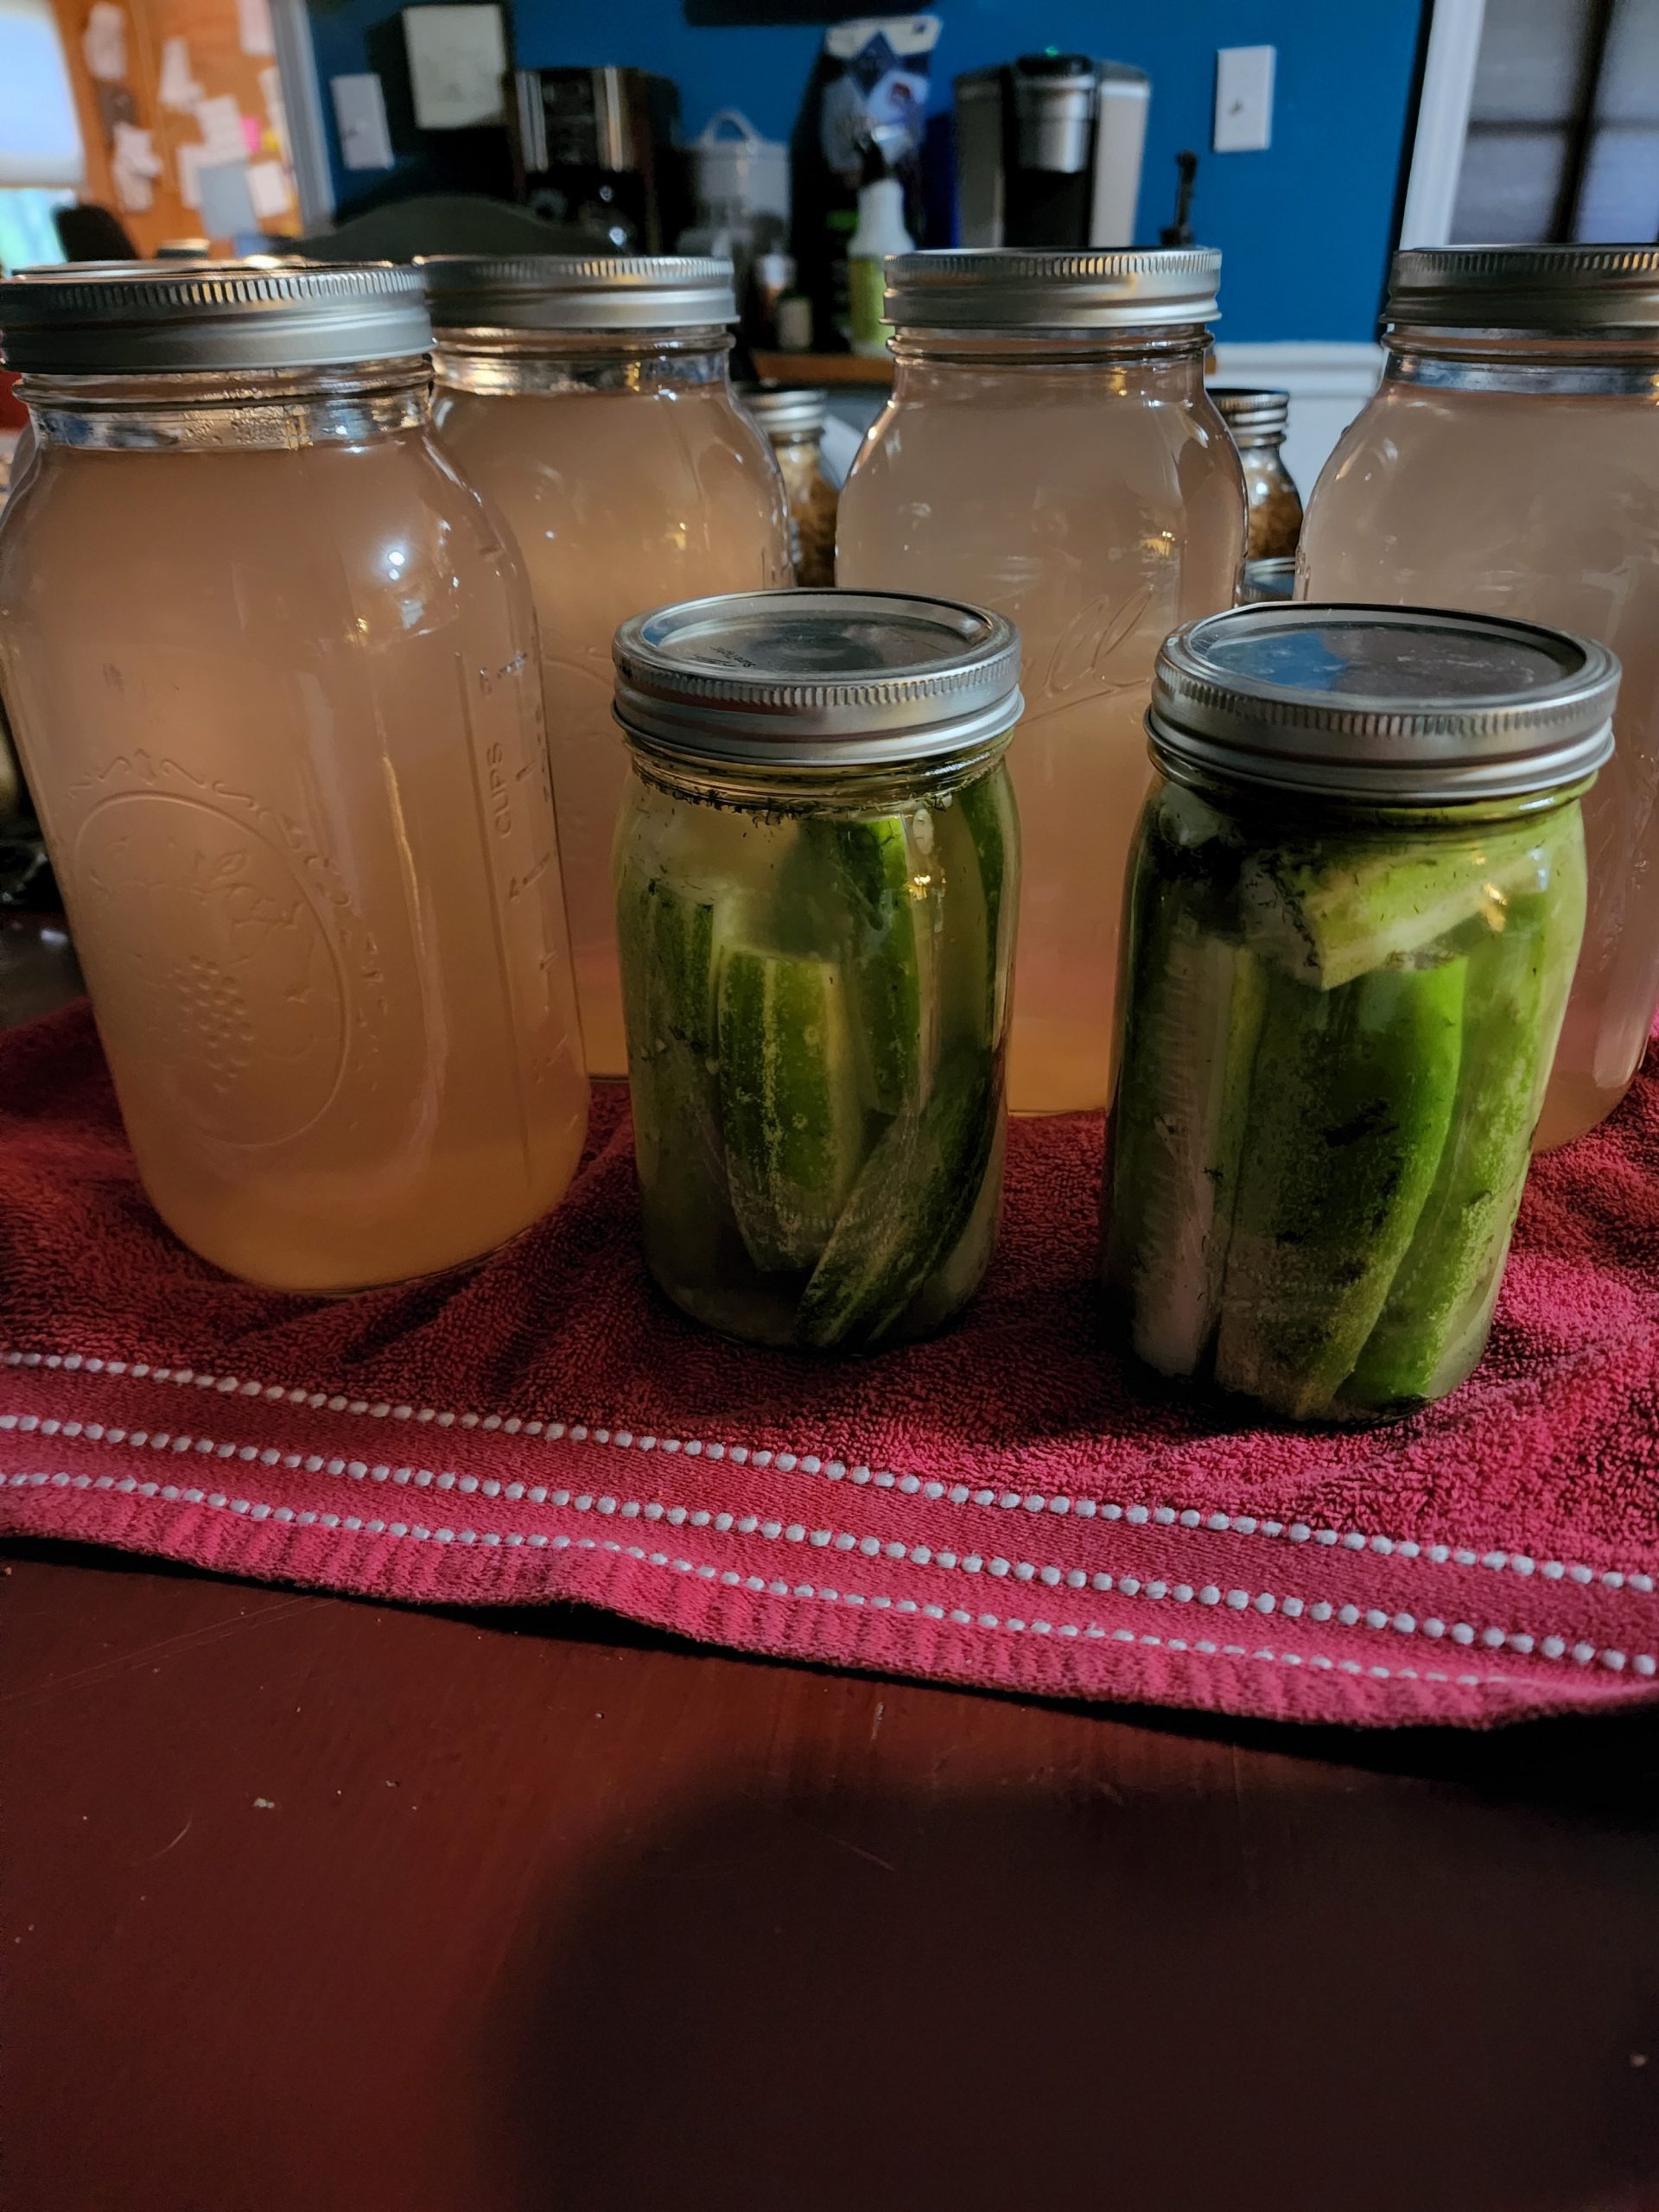
Take the fear out of canning
What do I mean by pearl clutchers? Well, these are the people that whole heartedly agree that what the USDA, FDA and Ball say, you must do. There is a ton of fear about canning that is perpetuated by these organizations. They make it feel like the only thing you can can are jelly, jams, and a couple of soups. To give you an example: The Ball Book Of Canning says you cannot can chili with beans but on the next page, you can can ham and bean soup. That doesn’t make any sense.
So my take on it is this: if the store can put it in a can, or Grandma didn’t kill her entire family, then it’s probably okay to eat. If I follow basic kitchen cleanliness while I cook, follow proper canning times? It’s probably okay. When I take the jar off the shelf to make it, and it looks good, smells good and I boil it for 10 minutes? It’s probably okay to eat.

Random tangent
The latest update from the CDC says that in 2018 there were 242 cases of botulism in the US. Of that, only 18 were foodborne. Only 3 of those cases were linked to home canned food. You can read the full article here. Does it happen? Absolutely. But there are 329.5 million people in the US as of 2020. That means that your chance of consuming botulism is pretty close to zero.
Do your research, find solid recipes, and get to canning. It will be okay.
Let’s Get Started
So you have decided to take the plunge and start canning. But what do you need to get started? My friends over at Southern Dream Homestead has a great blog post on canning and I highly suggest it. But the short version is this:
You will need a huge pot that can handle a fair amount of jars. Most home canners use something similar to this one. I like it simply because I can use the pot for various other things. When I am pressure canning, I use huge pots for soups and stews making 36 Quarts at a time. This can also be used as an old fashion stock pot and as a water bath canner. The utility is great!
A good pressure canner will go a long way. I have two of them that I run at the same time during canning season. This one from Amazon is about $130 as of this writing. Shop it around and look at Walmart, Target or other stores. They may have it cheaper. Edit to add: Here is a link for a pressure canner from Walmart.
Arguably, the most important thing when it comes to canning is great recipes. This is the cookbook that I refer back to every year and I love it. I have made several of soups/ stews in this cook book and they are absolutely divine. The chicken chowder and enchilada soup are family favorites. Do yourself a favor and get either the hardback or spiral version. Paperback cookbooks do not last long in the kitchen.
Some other cookbooks I like are: Ball’s Cook Book, The Homestead Canning Cookbook, and Meals In A Jar.
I also have a quick reference guide that you can download get in my members only section. Sign up below and you will be emailed the password.
Lastly, you need tools. This one is a bit more expensive, but the tools feel a little more quality than some of the others. Regardless, you should probably get a couple sets of jar grabbers, funnels, ladles, etc. This is a good kit, but always get extra jar grabbers and funnels. You will always need more than you have.
You may have noticed that I left out jars. Get Ball Mason Jars, period. Yes, you may have some success with other jars. You may even find some obscure brand that holds up amazing. However, Ball is tried and true for a reason, their jars will literally stand the test of time. But PLEASE don’t buy them from amazon. You are going to pay through the nose for them.
The best place I have found for mason jars is Wal-Mart. Depending on where you live, your prices will vary, but I can get a case of quart mason jars for around $16 and a case of pint for $12. Half gallons come in a 6pk for $12. Amazon wants to double or triple that price. So shop around. Oh, and stock up on lids whenever you can find them.
Finally, get yourself some good sturdy shelves. You do not want to spend an entire summer canning your heart out, getting burns, and sore muscles to have your plastic shelves fail. I’ve got a great tutorial on how we built our canning shelves and after several years, we still love them.
So get your supplies and get started in the kitchen. I promise you, when you don’t want to sweat your butt off making dinner, that can of chili or chicken noodle soup is going to taste amazing. You can find my make ahead pickle brine and green bean recipes by clicking the links. Those are two very easy ways to get started on your canning journey.

If you like this post, feel free to share it and follow us below on our social media accounts!