I could write a million posts about canning. How to can, what to can and how much to can. But I think the best post I could write about is storing canned goods. For years, I have tried to figure out the best way to store the things I canned. But we could never figure out a way that I liked and allowed us to see and use those goods. At least until Jared came up with my shelves. In this post, I will show exactly how we build canning shelves.

Good Canning Shelves Are Hard To Find
We can a lot of food. When I say a lot, I mean hundreds of jars a year. It’s not uncommon for me to put up 50+ jars of tomato sauce, 50+ jars of green beans, and more. The reason we put up so much is because it’s cheap. Before buying this property, I could buy a half bushel of peaches for $10 and end up with 20-30 pints of diced or sliced peaches. I could buy two bushels of green beans for $40 and can 75 quarts of green beans. I was able to get farm fresh produce and preserve it for pennies compared to buying it at the store.
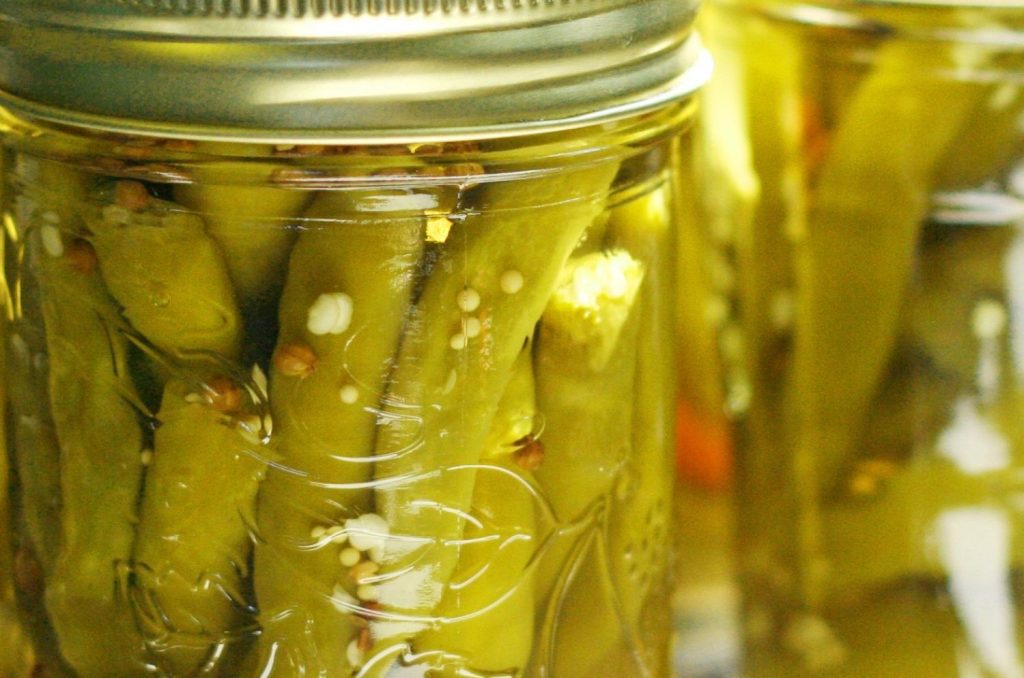
Once you start pressure canning staples like green beans, jars pile up fast.
If you’re pressure canning regularly, proper shelving isn’t optional — it’s part of the system.
Start here:
👉 How I pressure can green beans in my working pantry
First Attempt At Building Canning Shelves
The problem was where we were going to put all this food. As we have been homesteading, those canning numbers have quadrupled… Or more. I talked about how many jars you need in this blog post, but the reality is that you need a ton of jars, which means you need a TON of space. Not just for food, but also for all those empty jars.
Jared attempted to conquer the problem by building Frankenstein.
Frankenstein was 5ft tall by 4ft wide and 2ft deep. If you’ve been canning for more than a minute, you know that jars got lost in the back. It was sturdy and it worked, but within six weeks this thing was crammed full.

We attempted to fix the 2ft depth problem by putting cases of unused jars in the back. The problem with that is that when you need a case of jars, you have to pull all the jars out of the way to get to those empty jars.
We tried to just put empty boxes back there but that didn’t work either.
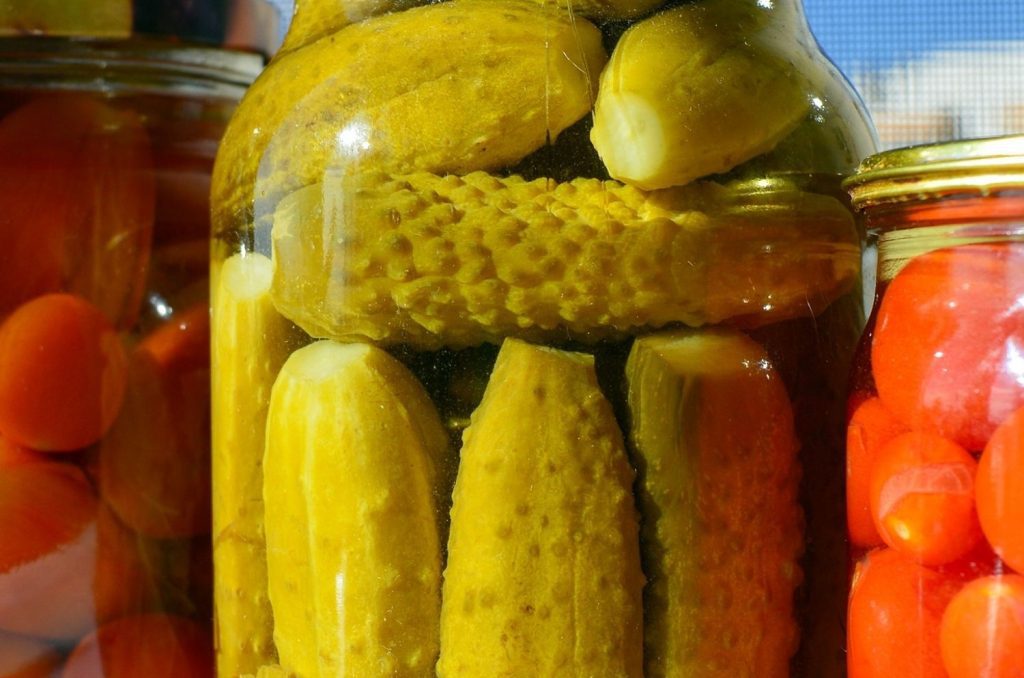
If I’m already set up to can, I always keep brine ready so I can move fast when produce comes in.
This is what I use to keep those shelves full:
👉 My Make-Ahead Pickling Brine for Fast Canning Days
Back to the Drawing Board
At this point, I was at a loss. I browsed Pinterest, Google, and canning groups on Facebook, but just couldn’t find what I was looking for. Plastic shelves aren’t sturdy. Metal shelves are held together by plastic clips. Premade shelves were expensive or the wrong size.
I told Jared, I wanted tall shelves that can hold several rows of jars. I wanted no more than three or four jars deep so jars don’t get lost. And I also wanted a lot of shelves on each unit. This is what my man came up with.

I was in love. Not only with Jared but also with my amazing shelves. As canning season went on, we realized we needed more shelves for our canned goods. Not just the jars that I put up, but also the stuff that we bought in bulk like flour, sugar, grains, etc. So he kept building me shelves until we ended up with what we have now.


Are you getting overwhelmed in the garden? Stressed? Or just not enjoying the garden like you used to? Check out our garden prompts! We send out weekly emails that get you back in the garden and out of your head! Turn the garden back into a place of love and joy instead of frustration and headache!
How We Built Our Canning Shelves
In total we have seven shelves that each hold approximately 300 jars each. This includes things like sugar, flour, coffee, rice, and extra jars just to name a few things. For now, I think we have enough shelves for canned goods but who knows what tomorrow will bring.
My friend over at Simple Living Homestead wrote an amazing blog post about all the different ways to store jars and lids. While I thought I had it all figured out, there are a couple of really useful items that I am looking at. Specifically, #5 the handmade wooden lid organizer! That would really come in handy, especially in the height of canning season when I lose everything. The canning tongs, rings, jars, my mind?

The measurements for theses shelves are 48″ wide by 12″ deep by 96″ tall. I believe we used 23 2x4x8 studs.
Building Your Canning Shelves
This build plan assumes that you have basic building knowledge. Also, depending on your set up (putting these in the basement, garage, or inside) will depend on what type of lumber you use. We use regular studs for ours because it’s in our basement and we don’t have a ton of water issues…. ***Knocks on all the wood**
You will need a tape measure, drill (and proper bit for screws), circular or miter saw, level and speed or T square.
You will need 23 2x4x8 and 2″ deck screws. Really, you could use nails or other screws but we used 2″ deck screws.
Step 1: Make your cuts. You need 24 48″ pieces (shelf boards) and 18 12″ pieces (brace boards).
Step 2: Make your end pieces. Take 2 2x4x8 and 2 12″ pieces. You are going to attach each 12″ piece at the top and bottom (in between the 2x4x8) of your long pieces. When they are level and square, screw in place. Do this twice. These are your end pieces.
Step 3: Take 3 of your 48″ boards and screw to bottom brace on each of your end pieces. Again, making sure that you are level and true. This shelf will only barely be off the floor. We use a 1″ scrap piece of wood to ensure even spacing between the shelf boards. Screw in place and stand up the unit.
Step 4: Measure 12″ from the bottom board. Make sure that a quart jar will fit under it. If it doesn’t, make some adjustments until it will. Add your brace on each side of your end pieces, make sure it is level and square, and screw in place. Repeat on the other end piece. Add your shelf boards (don’t forget to space them out) and screw in place.
Step 5: Repeat step 4 until all of your shelves are in place.
The top of the unit will not be 12″ and that’s okay. We use that for empty jar storage anyways.
What I Always Put on These Shelves First
Green beans are forgiving, store well, and are the backbone of my pantry.
If you’re stocking shelves for the first time,
Start here:
👉 How I pressure can green beans in my working pantry
Special Considerations For These Canning Shelves
Depending on where you put these shelves and your level of comfort, I would suggest some form of securing to the ceiling, wall, etc. I would not leave to chance these shelves falling over. Now, I have run into these shelves while trying to put up jars and they have held just fine. But better to be safe than sorry so take a little extra time and ensure that those precious jars are secured.
Once the Shelves Are Full, This Is What Keeps Them Useful
Otherwise jars get forgotten, dates get missed, and food gets wasted.
We use a simple canning inventory system to track:
- what we canned
- how much we have
- and when it needs to be used
This keeps our pantry usable instead of overwhelming.
👉 The canning inventory sheets we use: Canning Inventory Sheets

How To Build Canning Shelves
Equipment
- Tape Measure
- Drill
- Circular or miter saw
- 4 1" Block of wood
- Level
- T Square or similar
- Hammer
Materials
- 23 2x4x8
- A LOT 2" Screws we used decking screws
Instructions
- Cut 24 48" pieces for shelves
- Cut 18 12" pieces for braces
- To make your end pieces, lay out 2 2x4x8's and attach 1 12" brace to the top and 1 12" brace to the bottom. Place the brace between the 2×4 so that your finished width is 15". Make sure your corners are square and level before you screw it together.Do this twice
- Next attach 3 2x4x48" pieces to the bottom of your shelf. Use a 1" block in each space to ensure that your shelves are spaced evenly. Once the bottom row of shelves are done, you can stand up the unit so you are not on the ground.
- Now you are going to attach the next brace 12" above your previous shelf. Double check that a quart jar will fit between your shelves. I can fit my half gallon jars as well but it's better to measure and adjust now than to have an entire shelfing unit that is wrong.
- Keep going until you reach the top. The top shelf to the top brace is not 12", this is normal. I usually put extra jars or half gallon jars up on top.
Notes
I hope you enjoyed this article and if you need any help with measurements or how to do it, just leave a comment!
If you like the content I put out, feel free to buy us a coffee! It helps keep this site running, marketing and the goats in grain!
Buy me a coffeeIf you like this post, feel free to share it and follow us below on our social media accounts!
Leave a Reply