I am extremely picky when it comes to green beans. I cannot stand mushy green beans. The thought of the skin of the green bean scraping against my teeth is enough to make me want to vomit. So the only way I will buy, can or otherwise consume green beans is frenched green beans. Today, I went to my local farmers market for strawberries. Yes, they are worth the two hour round trip drive and I saw they had bushels of green beans! Score! So today I’m going pressure can green beans.


The Ultimate Homesteader’s Starter Bundle – Only $47!
Get the tools you need to stay organized, track profits, and manage your homestead with ease!
Includes:
✅ Schedule F Tracker – Simplify tax prep
✅ Profit Calculator – Track earnings
✅ Hay Calculator – Plan livestock feed
✅ Garden Journal – Digital & printable
✅ Herd Health Tracker – Monitor animal care
✅ Simple Budget – Manage finances
✅ Backyard Homestead eBook – Essential tips
$99 value – now just $47! Start your homesteading journey today!
Pressure Canning Green Beans
The first thing you need is fresh green beans. Straight from the garden is the best but today we are working with what we’ve got. I got a bushel which is about 30# of green beans and will yield about 25 quart jars of beans. This is not precise. Sometimes a bushel is only 25# and only 18# of usable green beans. So be prepared for less or more.
You’ll need a couple bowls, cold water for soaking, jars, pressure canner and the assorted tools that go with pressure canning.
Let’s Get Snapping
You’ll need a couple bowls so you can snap to your hearts content. This is seriously my favorite part. No one wants to help because it’s pretty mindless which is why it’s my favorite part. Last year I snapped two bushels of green beans in six hours. I took my time and got to watch my farm. I watched the goats play, the chickens scratch, and my boys help Jared build. All while I took a load off.
If you don’t know how to snap beans, it’s very simple. Snap off the ends at about 1/2 inch, roughly. Throw the ends in a bowl. Then snap the bean in half or thirds depending on how big you want your pieces. Just work through your bushel/ bag.
If you have goats or chickens, they will love you for giving them the ends. All of the animals fight over the beans, tops and bottoms and of course anything that gets dropped on the floor.
Soak Your Beans
Next clean your sink or a cooler and let them sit in cool water for about 30 minutes. You don’t have to do this step but I feel like it gets all the dirt and grime off your beans. You can do this before you start snapping, go for it, it’s totally up to you.
Also, I will “agitate” the water with my hands to help scrub off any dirt or debris that is on the beans.
I like using a cooler because I can just dump the processed beans straight into a cooler of cool water on the porch and I don’t have to move. Which is ideal considering I usually process 40-50 quarts of green beans at a time.
French Cut Green Beans
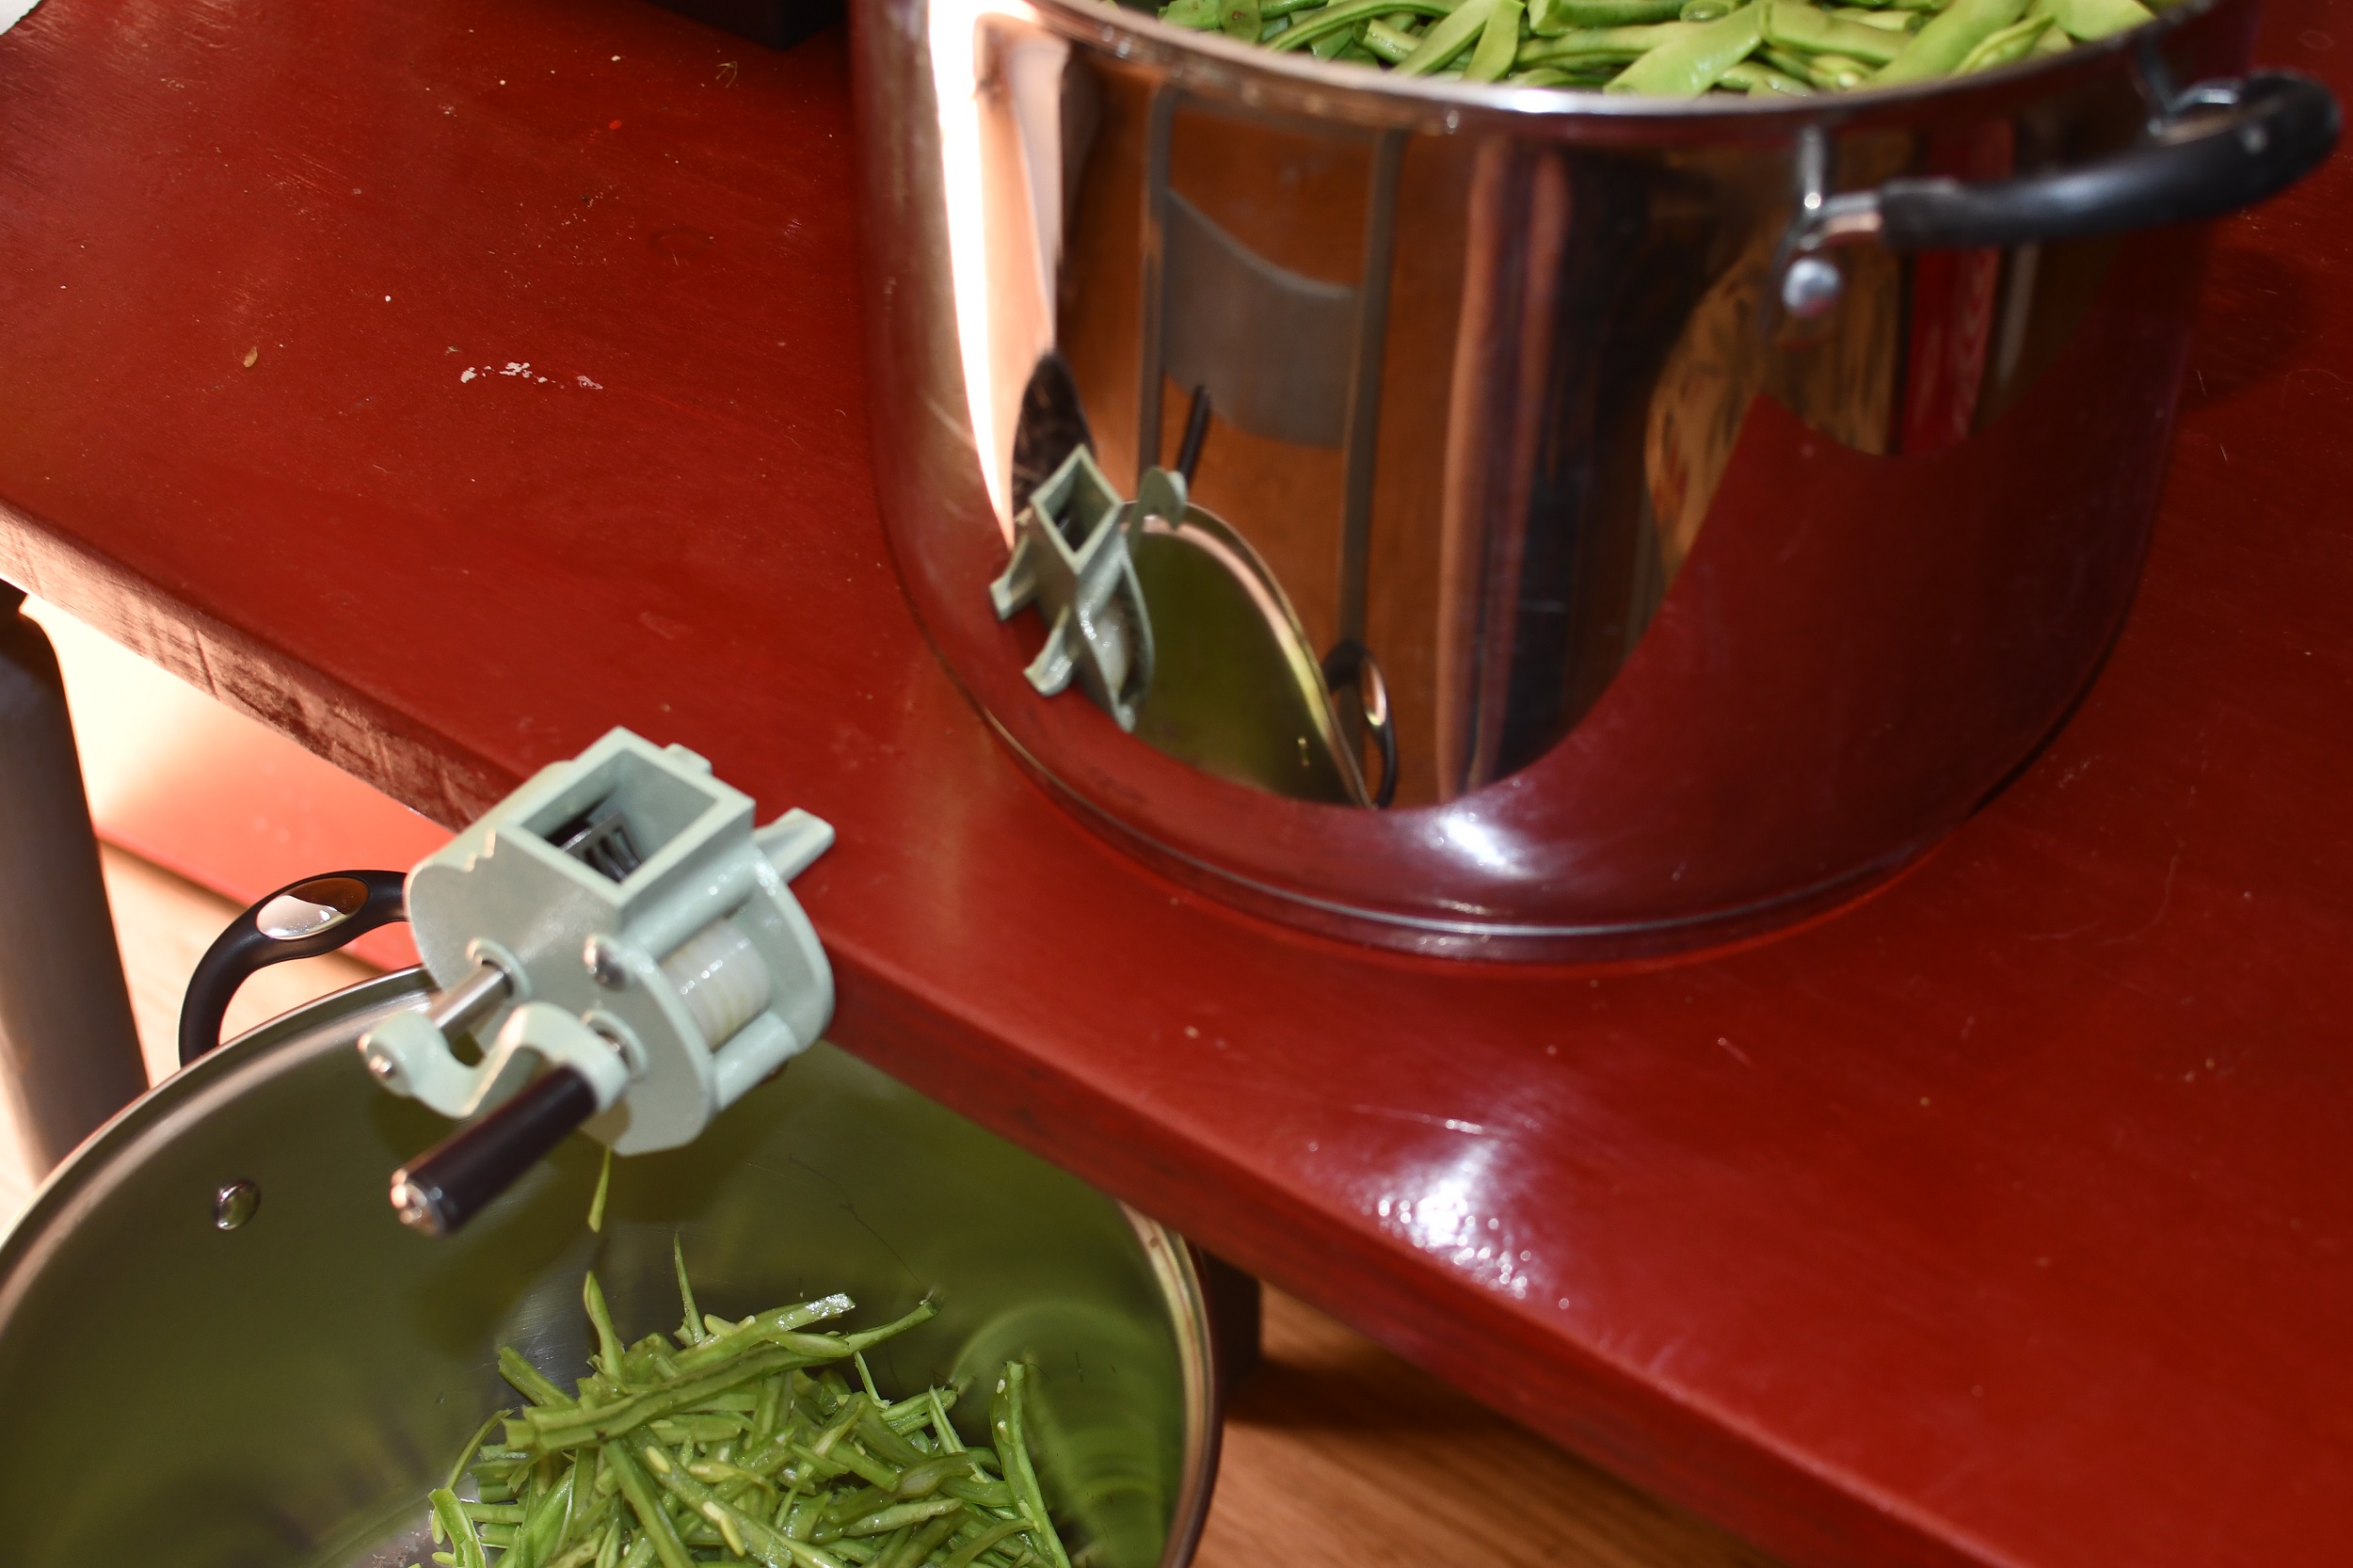
Once they are clean, I run them through the frencher. If you don’t have a frencher or don’t want french cut beans just skip this step. But make sure that you snap your beans a little smaller about an inch long.
If I am canning green beans, which is the entire point of this post, I only can French cut green beans. So you’ll need a frencher like this one and while I love it, it does get stuck if the bean is too big or too hard. It also requires you to attach it to a counter, table, etc and sometimes it just doesn’t work that well. But it’s the best crank version and I don’t like the manual ones.
Get Your Canner Ready
Next, get your canners ready. You need a pressure canner. I have two similar to this one but mine don’t have the gauge. You don’t HAVE to have the gauge. If you head to your local Wal-Mart they should have one that doesn’t have a gauge. While you’re at Wal-Mart go ahead and get at least two cases of quart mason jars. Ball is the most common, but Azure Standard has some really great jars as well. Also pick up the tool pack that has a canning funnel, canning tongs, and the de-bubbler. It should look like this.
Your specific canner should tell you how much water to put into it. My canner says three quarts. It will not fill the canner, and you don’t want it to. Go ahead and fill it to your manufactures instructions and get the water boiling.
Pack Your Green Beans Into Jars
While waiting on your water to boil, you’re going to start packing your jars. Using your funnel and clean hands start packing your green beans into your jars. I usually pack till the green beans are about an inch and a half from the top. I usually push down to get as many beans in as possible but you also don’t want to pack it so full. Set it off to the side until you have a canner full. This is usually seven-ten quart jars depending on the size of your canner.

Once you have a full canner ready (not in the canner yet), go ahead and fill each jar with room temperature water till you have 1″ head space. Head space refers to the space from the top of the food/water to the top of the jar. Next, you’re going to use the de-bubbler to get all the air bubbles out.
I’m not going to lie to you, I gently tap the jar on the counter until all the bubbles are at the top. It’s worked well for me, usually because I can’t find the de-bubbler thing. Add more water to the jar to maintain the 1″ head space.
Then wipe the rim of the jar with a paper towel or rag dipped in vinegar. Put the lid and then ring on to finger tip tight and you are ready to put them in the canner. I usually place them in the canner all at once so that nothing starts cooking before I’m ready.
Loading Your Pressure Canner
By the time you are ready to start adding your jars, your water should be boiling or close. Go ahead and place your jars in the canner and place the lid per your canners instructions. The normal process for most canners is to let the canner vent for ten minutes before placing your weight on the vent. But again, follow your canners instructions.
My canners have a pressure lock that will pop up once it has come to pressure and shortly after that the rocker will rock. Your canner may be different.
Once the weight starts to rock, or you are up to your PSI on your gauge, you start your time. I will also usually drop the temp on the burner at this point too. I have it on high to get everything up to pressure but will usually drop it to medium to medium high once the weight is rocking. You only want the weight to rock about once every few seconds. Usually mine just gently jiggles.
Green beans need to be processed for 25 minutes. Depending on your altitude will depend on your actual times. I process mine at 25 minutes at 15 PSI for quarts because I am over 1000 feet above sea level.
PS Loading a canner is pretty universal. That process is pretty much the same for everything you are going to pressure can except headspace, time and pressure (Your PSI will never change unless you love altitude).
After Processing Your Pressure Canned Green Beans
When time is up, simply turn off the heat and wait about ten minutes. After that you can move your canner off the burner. Some people move it before, some never touch it. It’s up to you. If I’ve got multiple canners going, I will pull mine off the burner.
You MUST let your canner depressurize naturally! This is none negotiable. At best, you will ruin your food. At worst you can warp your canner or blow up your kitchen. Let’s not do that.
Once the pressure lock drops you can remove ONLY the weight. Once the pressure lock drops and you have removed the weight, give it about ten minutes or so and then you should be able to crack the canner open.
There will be steam that comes out so please be careful. Leave the lid on for another ten minutes or so. The other way you can do it is just put your canner off to the side and let it set for about an hour to hour and a half. This should give it plenty of time to depressurize naturally. When in doubt, leave it alone.
Unloading Your Canner
You can then take the lid off and carefully lift out the jars using the jar tongs. Again, be very careful. The contents of the canner and jars are still extremely hot. I put the jars on a folded towel to start to cool. Within 24hrs you will hear the sweet pinging of success! You can test your seal after 24hrs by pressing down on the lid. If there is give, it’s not sealed. If it sealed, you won’t feel or hear anything when you press it.
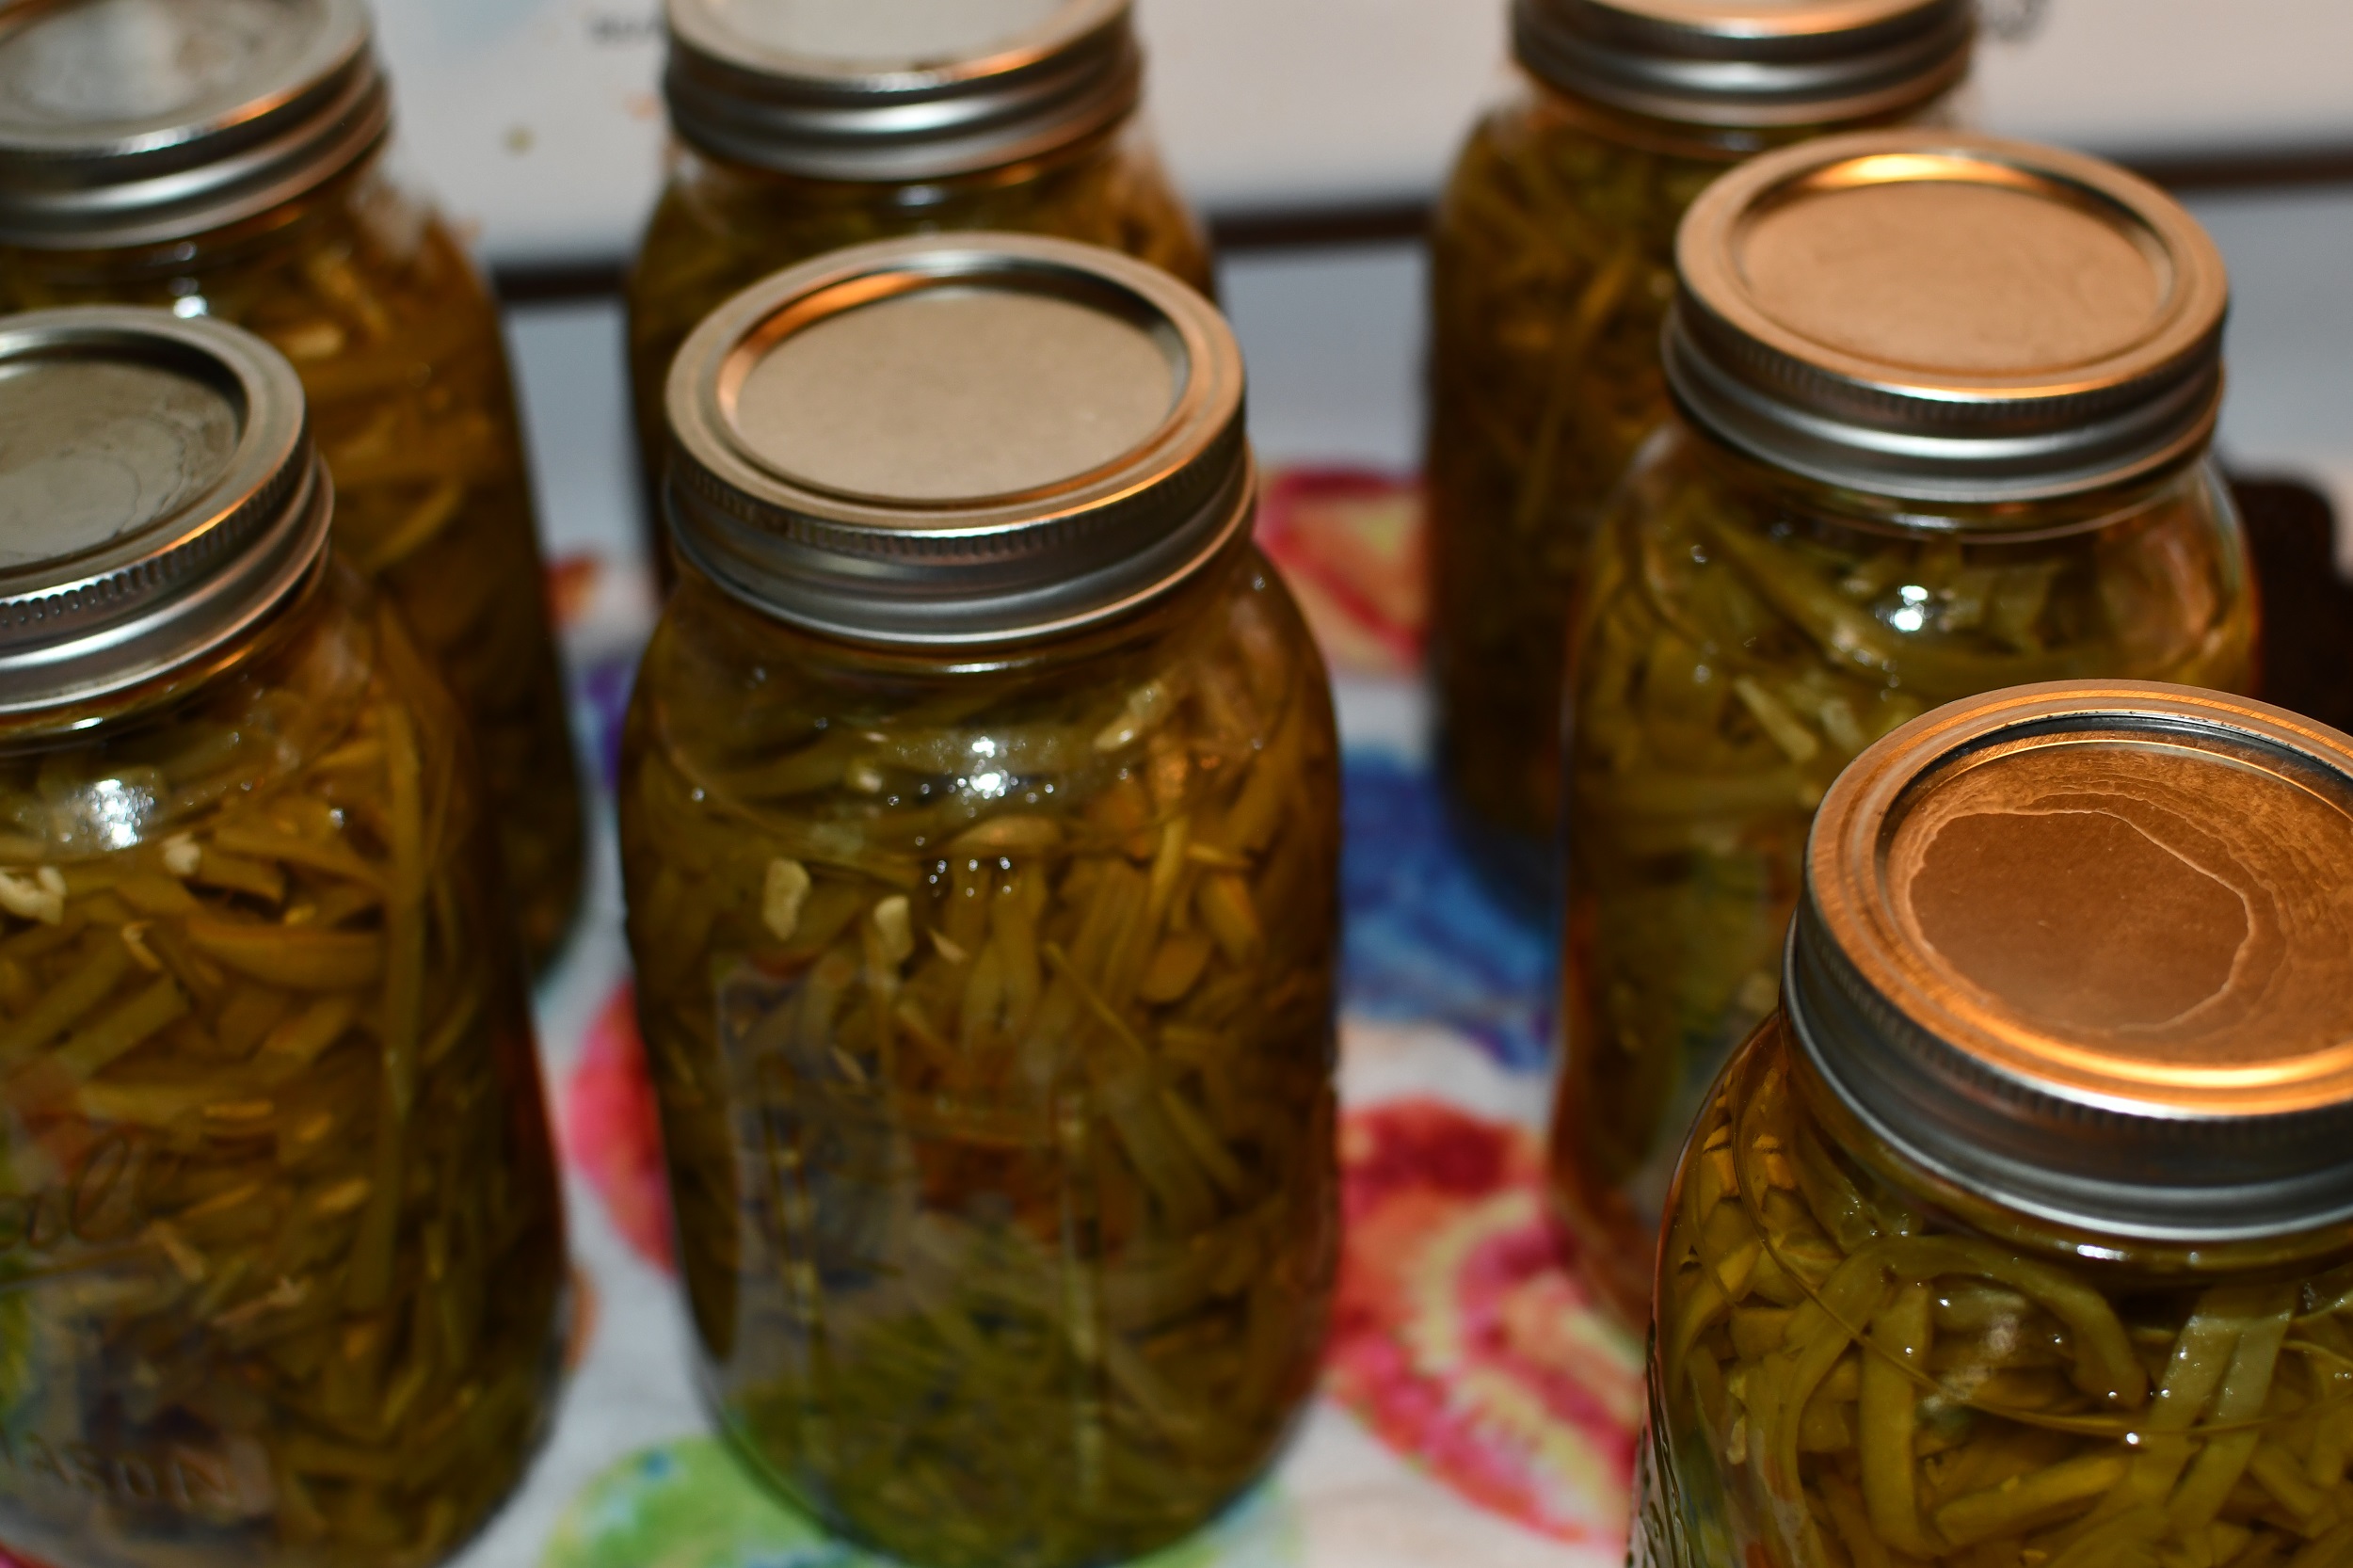
Anything that is not sealed needs to go into the fridge or be eaten within a couple of days.
Also, please, please, please remove your rings from the jars before storage. Normally, I am very much your kitchen, your rules. But on this one, I’m going to be a little more vocal…. The reason we remove rings from jars is because if that jar becomes unsealed for any reason, you will never know it if the ring is still on. As temperatures change in your storage area, seals can break. As bacterial get in and start growing, it could re-seal itself.
I’ve had a few jars that we forgot to take the ring off of and pulled months later? There was no way to tell that the lid resealed and the food inside looked perfectly fine. But there was a film on the top of the food. So be careful. Was the food safe, maybe? I wasn’t willing to risk it. So do yourself a favor and remove the rings.
But that’s it! You will love your green beans!
If you like the content I put out, feel free to buy us a coffee! It helps keep this site running, marketing and the goats in grain!
Buy me a coffee Print Recipe
Pressure Canned French Cut Green Beans
Equipment
- 1 Pressure Canner
- 1 Canning Kit Funnels, Canning Tongs, and Debubbler
- 1 Green Bean Frencher
- 2 Cases of Quart Jars You can use pints but get double the amount
- All Bowls and Stock pots You will probably need every last one by the time this is all said and done
Materials
- 1 bushel Green Beans
Instructions
- Snap your green beans by snapping off the top and bottom. Then snap them into desired lengths. I tend to snap mine in 2in sections but it's not a big deal if they are longer or shorter
- Rinse beans well. I usually have a big stock pot full of water and I just throw the beans into that as I snap
- Once you are either done snapping or you have filled your first pot, drain the water. Now you will start frenching. If you are using the crank tool then make sure you've got a pot under it. Start feeding your green beans through it.
- When you arms feel like jello from cranking, take a break and fill up your pressure canner with water to per manufacture instructions. Mine says 3qts.Get it on the stove to start boiling.
- Next start filling your jars with green beans. I tend to pack my jars pretty full. Fill with room temperature water, wipe the rim with a vinegar rag and place a lid and ring on it. Tighten ring to finger tight.Set it off to the side
- Once you have a full canner of jars, gently set the jars into the canner. If the water is already boiling you can secure your canning lid. Follow manufacture instructions on using your canner. Every single one is different.
- Process for 20 minutes for pints and 25 for quarts at 10# of pressure. Adjust for altitude.
- When processing is over allow canner to depressurize naturally. This could take a couple hours depending on your model so be prepared.
- Once canner is cool and safe to open, bring your jars out and allow them to cool. Listen for the ping and check your seals the next morning. Anything that doesn't seal, put in the fridge and eat within a couple of days.
If you like this post, feel free to share it and follow us below on our social media accounts!
Hey! Do you know if they make any plugins to help with Search Engine Optimization? I’m trying to get my blog to rank for some targeted keywords but I’m not seeing very good success. If you know of any please share. Thank you!
I use semrush